Customizing Cloud9
To customize a setting, change the theme, customize your key bindings or manage packages open the Preference pane by pressing Command-, on a mac or Ctrl-, on windows and linux.
Changing the Theme
Syntax Theme
Cloud9 comes with a set of pre-installed syntax themes that you can select from the View/Themes menu. You can install additional themes via packages and you are encouraged to create your own syntax themes or to import textmate themes.
Cloud9 Theme
In addition to the syntax themes, the Cloud9 themes let you configure the styling of the rest of Cloud9. By default there is a Classic Theme and a Flat Theme. You can pick between them via the theme section in the Preference pane. For more information on creating your own theme, check out this guide.
Installing Packages
During the alpha of the SDK the only way to install packages is using the init script feature.
IMPORTANT!Cloud9 plugins havefull access to your Cloud9 account, and therefore to everything you can access from Cloud9, so you should only install plugins from sources you trust. In other words, it is your responsibility to personally inspect each plugin you install for suspicious or unexpected activity.
To load a plugin open your Init Script from Cloud9 > Open Your Init Script menu.
and use pluginManager service to load plugin from the cdn.
// check that this is the workspace you want to use
if (services.c9.workspaceId.match("{username}/{workspacename}")) {
    // call plugin manager with a list of plugins you want to load
    // this takes either url, or a path on your vm
    services.pluginManager.loadPackage([
        "https://cdn.url/pluginName1/package.pluginName1.js",
        "~/.c9/plugins/pluginName2/c9build/package.pluginName2.js"
    ])
}
see also https://community.c9.io/t/distributing-and-installing-custom-cloud9-plugins/15168
Customizing Key Bindings
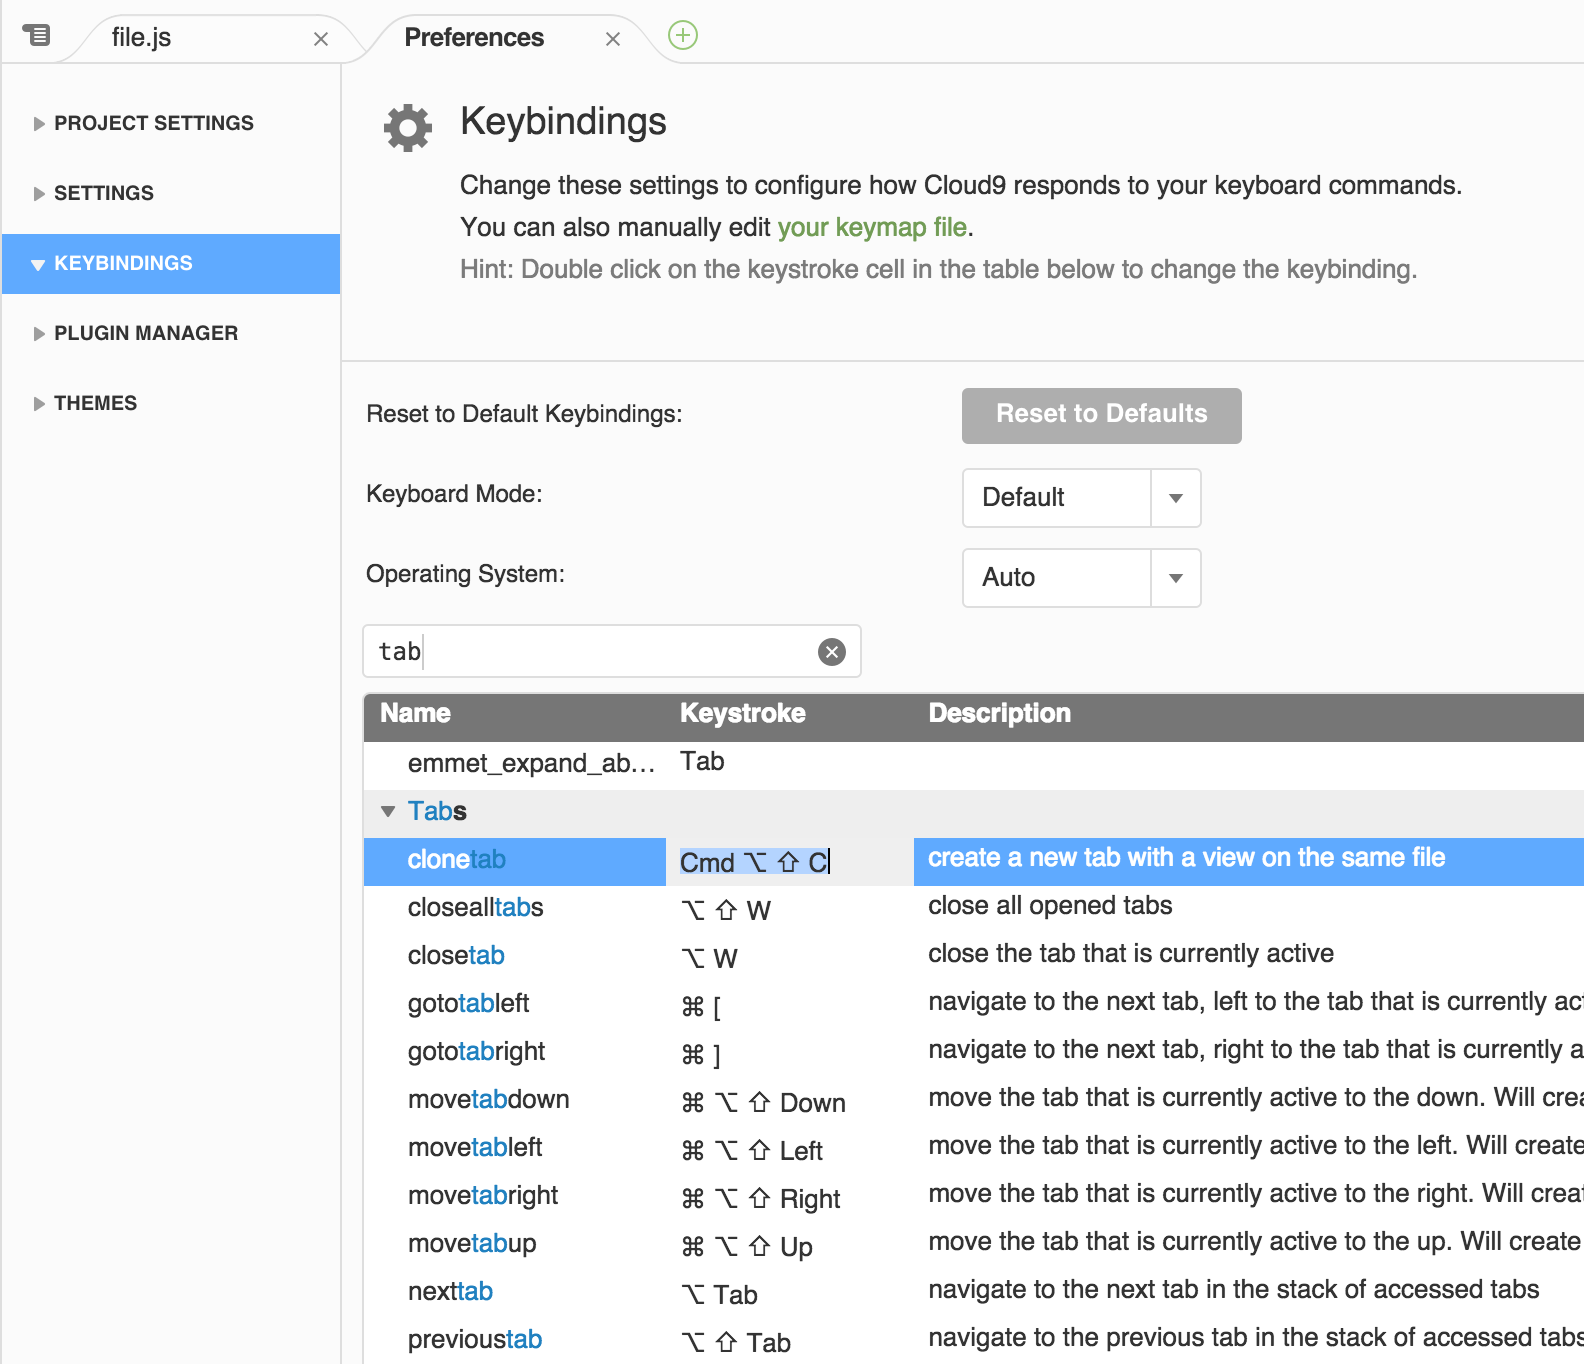
Cloud9 key bindings can be configured both via a GUI in the Preference pane or by editing your keymap file. Using the GUI is easy when you want to quickly change a key binding:

Alternatively you can open the keymap file via the Cloud9/Open Your Keymap menu item. Your keymap file is a json file that lists the commands for which you set the key binding and what it is for which platform:
// Edit this keymap file and save to apply.
[
    { "command": "clonetab", "keys": ["Cmd-Alt-Shift-C"] }
]
When you save the keymap file your key bindings are immediately active.
In addition you can choose a different keyboard mode. Many users that come from other editors such as VI or Emacs will be happy to note that we support the key bindings they are used to. We support keyboard modes for the following editors:
- VI
- Emacs
- Sublime Text
Preferences and Settings
Cloud9 recognizes that some of your preferences should be applied to any workspace that you work in, while others are only applicable to that specific workspace. That's why we split up the settings in project settings and users settings and gave each it's own section within the Preference pane.
Project Settings
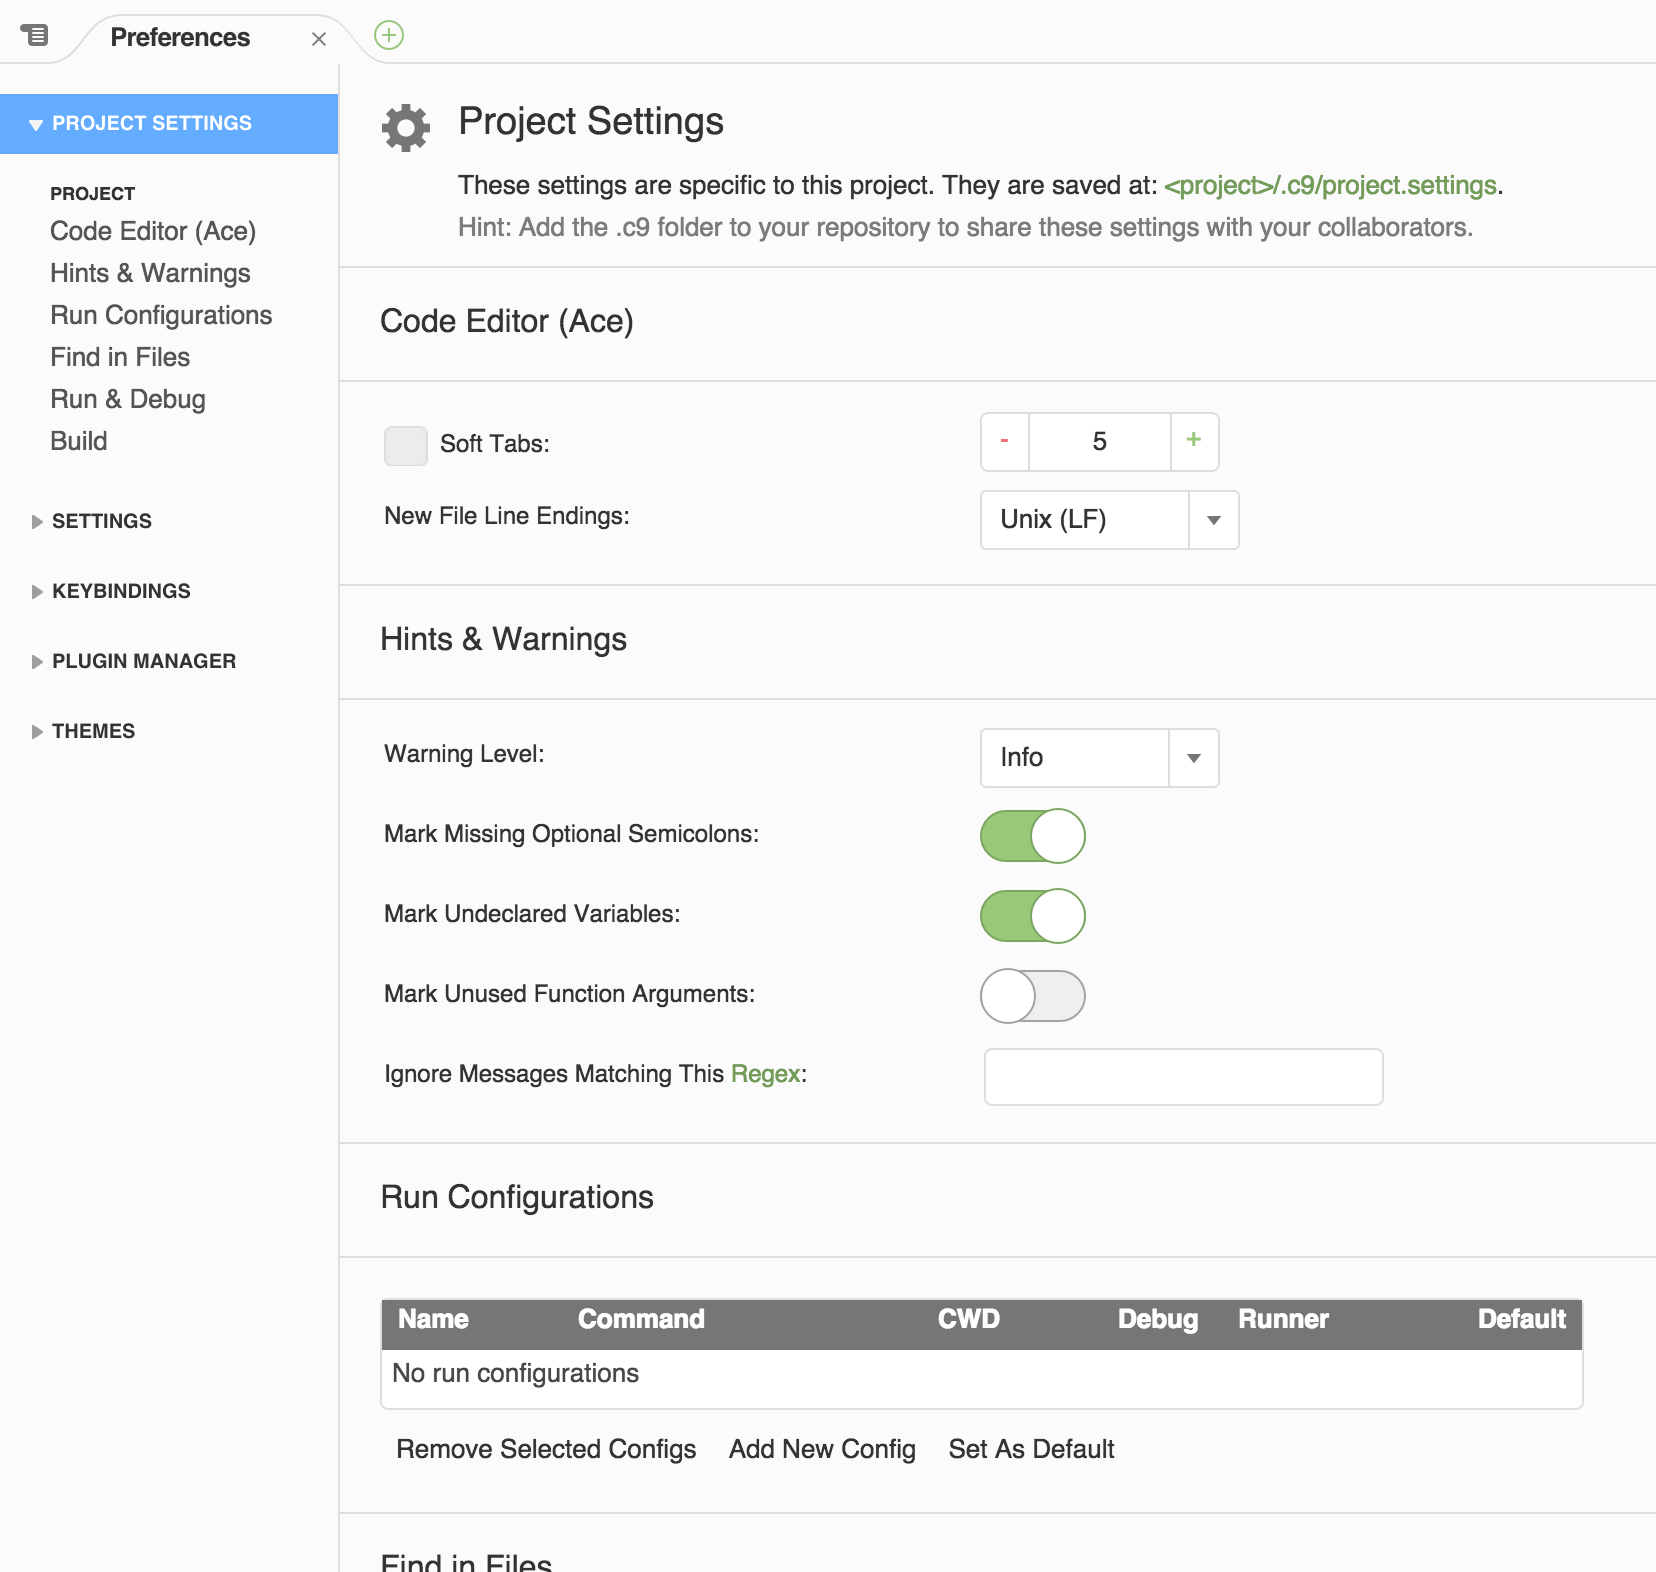
Project settings contain settings that belong to a specific workspace such as the tab width and the run configurations. These settings are saved in the project dir under .c9/project.settings. You can easily edit these settings either by directly editing the file via the Cloud9/Open Your Project Settings menu or via the GUI in the Preference Pane:

User Settings
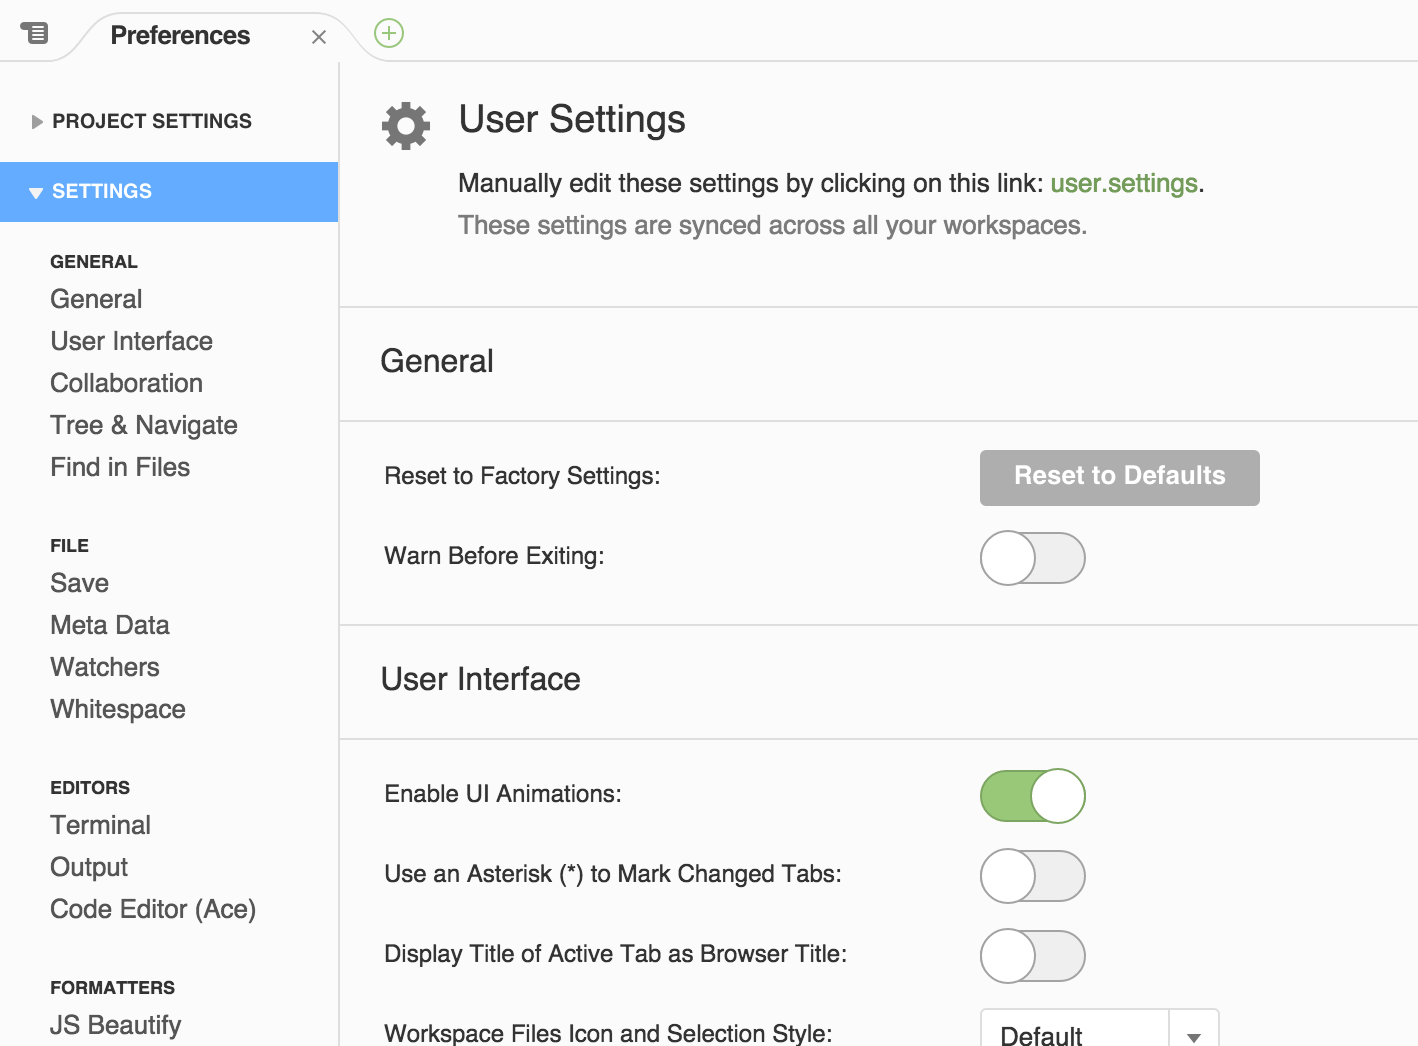
User preferences are saved in the database and are loaded for each workspace that work in - both your own and those you are invited to. The user preferences allow you to customize Cloud9 completely. Similar to the project settings we allow you to edit the user settings as a file via the Cloud9/Open Your User Settings menu as well as via the GUI:

Quick Personal Hacks
Init Script
The init script is executed after all other plugins have loaded. This gives you a chance to customize Cloud9. Similar to the user settings, the init script will be run in each workspace that you visit. If the customizations become extensive, consider creating a package.
You can edit this 'file' via the Cloud9/Open Your Init Script menu.
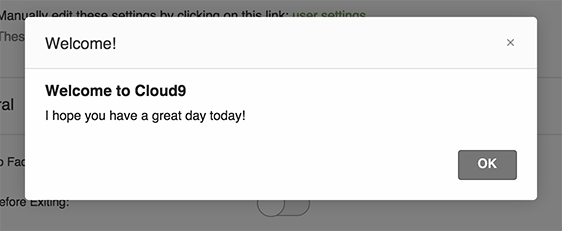
The loaded plugins are available via the services variable in the script. For instance if you wish to always have a welcome message greet you when you open a workspace, add the following code to your init script:
services["dialog.alert"].show("Welcome!",
    "Welcome to Cloud9",
    "I hope you have a great day today!");
Which displays a dialog like this:

Stylesheet
If you want to customize the look of the UI without creating your own theme, use the stylesheet. Add any CSS here and save it to see the changes immediately reflected in the UI. Similar to the init script, this file will be loaded for each of your workspaces as well.
You can edit this 'file' via the Cloud9/Open Your Stylesheet menu.
Updated 9 months ago
